
Chilly foam has grow to be fairly standard over the previous couple of years, and but, visually, chilly foam lattes are firmly caught within the Nineteen Eighties. In different phrases: a tall, layered drink in a glass, topped with a spoonful of stiff foam like whipped cream. Wouldn’t or not it’s nice in the event you may put latte artwork on an iced latte as a substitute? If the glass and the espresso had been chilled, you would possibly even have the ability to dispense with the ice.
Effectively, it seems that, so long as you could have the proper milk, the proper gear, and a little bit of apply, you may certainly pour rudimentary latte artwork with chilly foam. That is fascinating sufficient by itself, for cafes that wish to supply a twist on an iced latte. But it surely additionally raises some questions on what the warmth is de facto doing once we steam a jug of milk, why chilly foam is totally different to sizzling foam made with a steam wand, and whether or not there are higher methods to get the feel that we’re in search of.
On the one hand, the truth that chilly foam is feasible in any respect exhibits that heating the milk is nowhere close to as necessary as we as soon as thought for making an excellent foam. Alternatively, chilly foam appears to behave in a different way to sizzling foam, and we didn’t know why, so we grabbed a milk frother to see if we may discover out. Over the following few weeks, we’ll share our findings — starting, on this put up, with our first experiments with chilly latte artwork.
The Nanofoamer
Most chilly foaming strategies utilized in cafes produce a stiff, dry foam, extra akin to shaving foam than moist paint. Step one in our journey to pouring chilly latte artwork was discovering a strategy to produce a silky, liquid microfoam without having to use a steam wand. Enter the NanoFoamer V2, a handheld milk foamer that is essentially an advanced version of those ubiquitous handheld latte whisks.
With some practice and a lot of patience, it’s possible to make microfoam and pour latte art with a regular latte whisk. While it can be done, it takes a long time to whisk the milk enough to incorporate all the bubbles, and it’s very easy to accidentally introduce a blast of large bubbles and ruin your milk texture. The NanoFoamer is a deceptively simple invention which makes the process much easier. It works by forcing air bubbles through a fine mesh, which breaks them into microfoam.
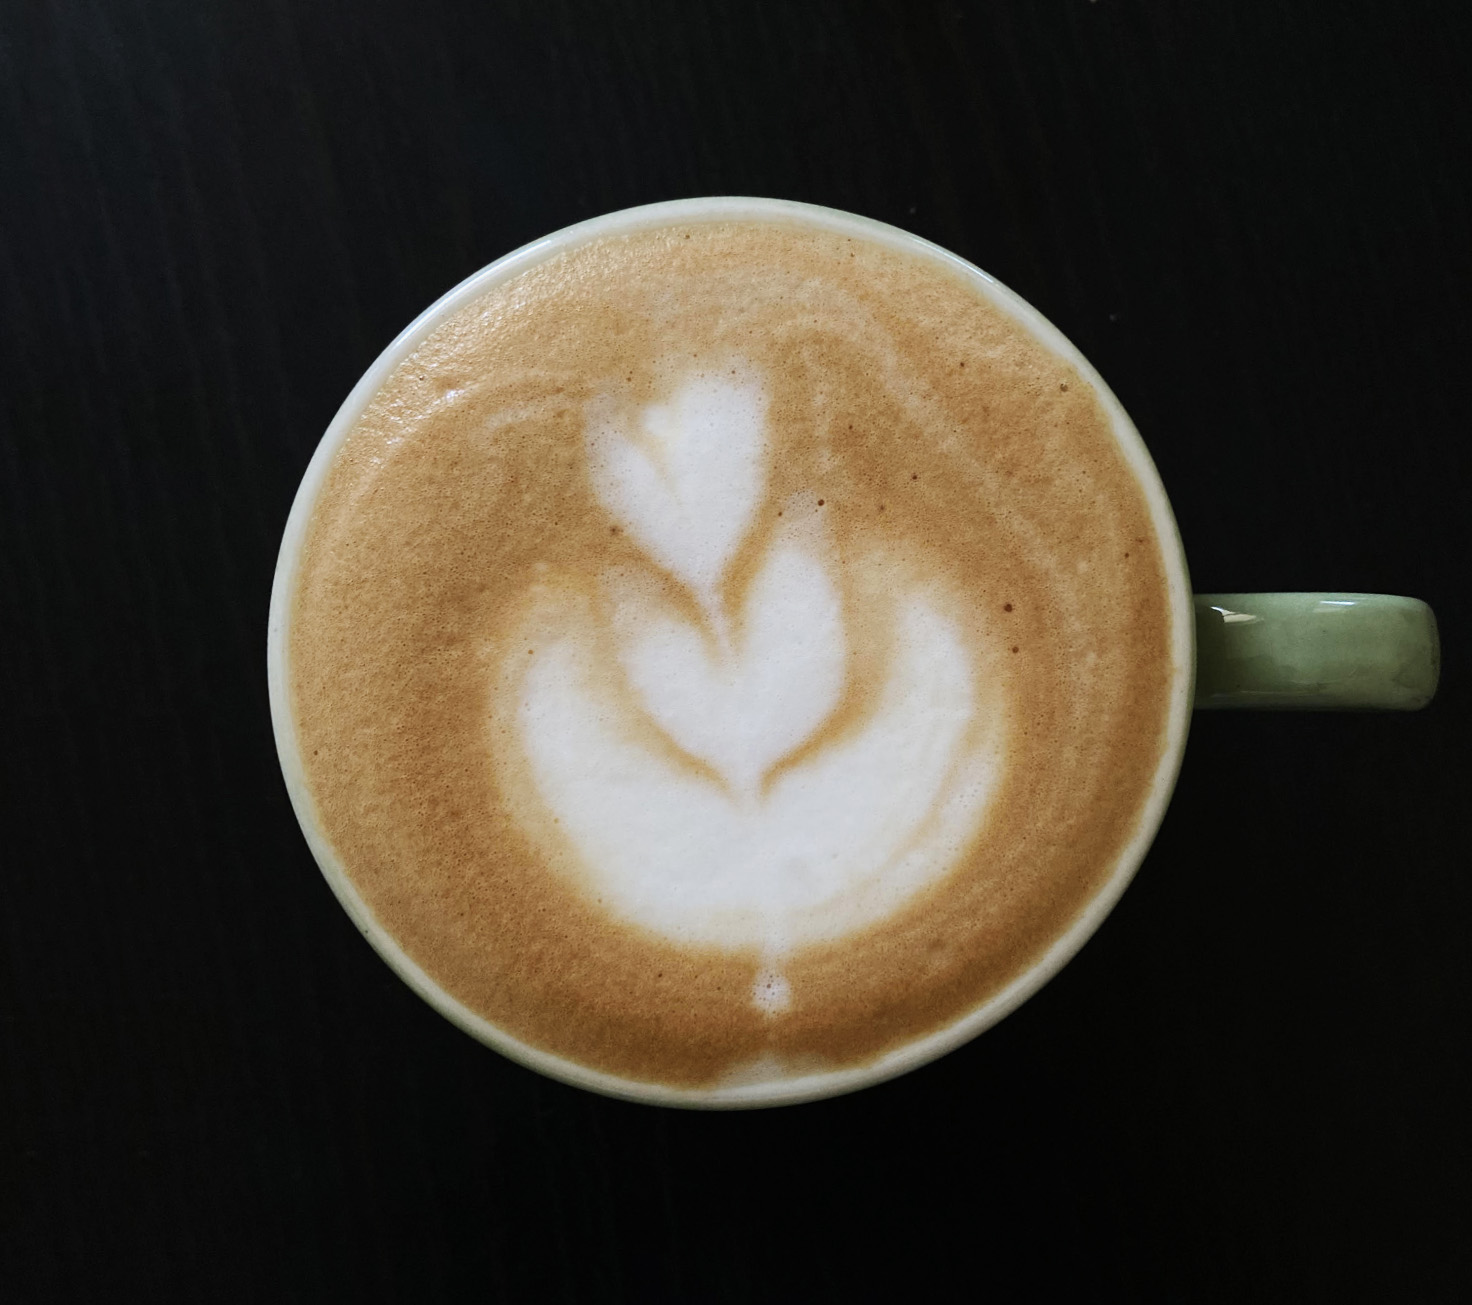
This is a great tool for experimenting with milk foaming, since it lets us separate the different variables involved in steaming milk. By separating the action of heating from the action of foaming, we can find out what the heat is really doing and whether we need hot milk to make latte art. So we purchased one — remember, we don’t accept any form of sponsorship or product placement at Barista Hustle. The next step was to find an awesome latte artist to put some theories to the test. Fortunately, we have Lloyd Meadows from Tortoise Espresso right around the corner. Just to give you an idea of what both the Nanofoamer, and Lloyd Meadows are capable of, here’s a latte poured by Lloyd made with warm milk which was foamed on the Nanofoamer.
 A latte foamed poured by Lloyd Meadows using the Nanofoamer with warm milk ~55°C
Pouring Cold Foam
There are plenty of videos online that show the NanoFoamer works well with hot milk — but we wanted to know why cold milk should be any different. According to the manufacturers, the NanoFoamer makes good foam with cold milk, but the cold foam isn’t suitable for latte art.
We had some discussions about this with the NanoFoamer’s inventor, Dominic Symons. He even took the time to send us some videos of him foaming cold milk, to show how the cold milk foam was too thick and stiff to pour anything more than a simple monk’s head.
 Cold milk foaming with the NanoFoamer, by its creator Dominic Symons. Left: whole milk, middle: skimmed milk, right: non-fat milk
“As you can see… you can foam up cold milk, but it is not suitable for pouring latte art,”
Dominic told us. Yet although Dominic’s foam was thick, it was clearly silky and shiny. Because of this, we suspected that more complex latte art might be possible, with a bit of adjustment to the technique. So we gave Lloyd our NanoFoamer and set him to work.
Lloyd’s usual milk of choice is an unhomogenised cow’s milk from Schulz dairy in Victoria, Australia — the sort where the cream floats on top, with around 4% fat content. To our great surprise, with this high quality milk, the foamer didn’t work at all. The unhomogenised milk simply wouldn’t hold any bubbles. In fact, during an early test with the Schulz milk, we accidentally churned the milk into butter by leaving the Nanofoamer going for way too long. After that we switched to homogenised milk, but Lloyd had almost the opposite problem — the milk quickly became far too frothy. After pouring, the texture fell apart very quickly.
 Cold-foamed versus hot-foamed milk. The thick, stiff froth of the cold-foamed milk (left) collapses very quickly.
With a second attempt, though, Lloyd got better results. By keeping the NanoFoamer below the surface as much as possible, to minimise the amount of air entrained into the milk, he was able to make a foam that was just about liquid enough for latte art. Those three stacks might not win any competitions, but it’s certainly the best cold-foam latte art that we’ve seen yet.
 Latte art made with cold foam.
From a sensory perspective, Lloyd tells us, iIt was very weird drinking a cold latte, but the texture and taste were actually OK.” When it came to pouring, he says, “it reminds me of steaming with dish soap for texturing practice and trying to pour with that. You have to push the foam really hard to get it out, so you end up with no definition.”
With a bit of practice, then, we could see this being used in cafes as a different way to present an iced latte. With a properly cooled espresso, and a cup pulled straight from the freezer, you could serve a silky, shiny cold-foam latte with some simple latte art on top.
How Does Heat Help?
We shared these results with Professor Abbott, to see what our cold foam success story tells us about why hot milk foams more easily.
A common explanation for why hot milk foams better than cold is that the protein unfolds, or ‘denatures’, when it’s heated. When the protein unfolds, it exposes hydrophobic parts of the molecule, which then bind to air bubbles and stabilise them.
This explanation is neat, but turns out to be a myth, Abbott explains. Milk proteins don’t significantly denature at the temperatures we normally steam milk to. Heat does denature proteins, but if you overheat milk to the point that proteins actually denature, it will no longer foam properly.

The fact that we can make cold foam at all, confirms that denaturation isn’t necessary for milk foaming. The small shear forces created by the NanoFoamer aren’t enough to perturb the structure of the proteins either — so it’s clear that the proteins can stabilise milk bubbles just as they are, without denaturing.
In fact, the main benefit of heating the milk before making a foam is that it’s much easier for the proteins in the milk to reach the surface of the bubble when the milk is hot. Any chemical process requires a certain amount of energy (the activation energy) to take place — this is why you need a match to light a fire. The process of the protein adsorbing onto the wall of a bubble is no different. In hot milk, there is more energy available, so the milk proteins can reach the bubble surface more easily.
In cold milk, you need other methods to encourage the protein to bind to the bubble surface. The simplest means of getting this done is to give the proteins a lot of bubble surface area to bind to. This is why the NanoFoamer is so effective — it creates a mass of tiny bubbles, which means there is a lot of surface area. With lots of small bubbles in the milk, it’s easy for a protein molecule to bump into the bubble surface and work its magic.
So if we want to make better cold foams, what else can we do to make it easy for the proteins to bind to bubbles? One answer is to change the pH, which subtly changes the behaviour, and sometimes the shape, of the protein. Naturally, we had to give this a try too — and it worked an absolute treat. We’ll share those results in our next post.